
Submittal Log Navigation and Filtering
This guide provides step-by-step instructions on how to navigate and filter the submittal log. It includes detailed instructions on exporting data, searching for specific items, filtering by different categories, and viewing files and remarks. By following this guide, users can easily manage and organize their submittal log, saving time and improving efficiency.
View in Full Window: Submittal_Log_Navigation_and_Filtering
Submittal Log Navigation and Filtering
Tip: The Submittals Log provides a comprehensive and organized record of all the submittal items, facilitating efficient tracking and management throughout the project's lifecycle.
1. Click "Export" will let you export the Log to Excel or as a PDF, and it will be exported in the same view you are currently in.

2. Click the "Search" field and conduct a full Log search based on the input you provide.

3. Click here to adjust the size of a column by resizing it.
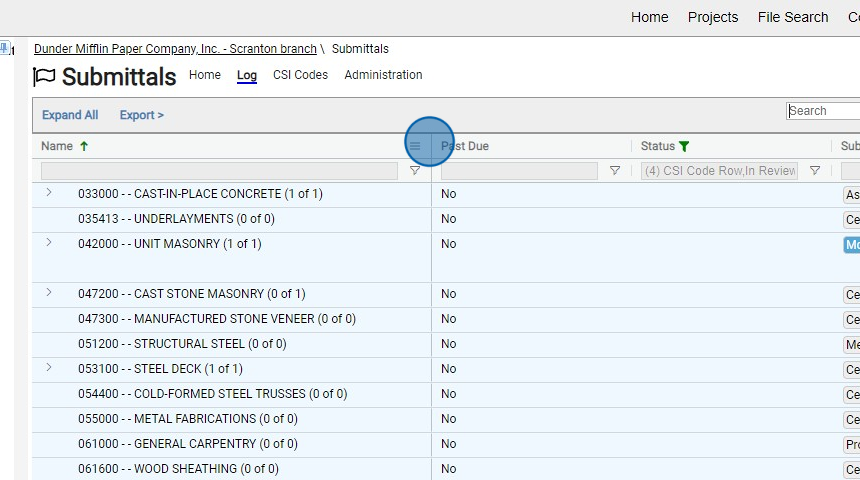
4. Click here to adjust the column positions by moving them to the left or right, and organize them by sorting.
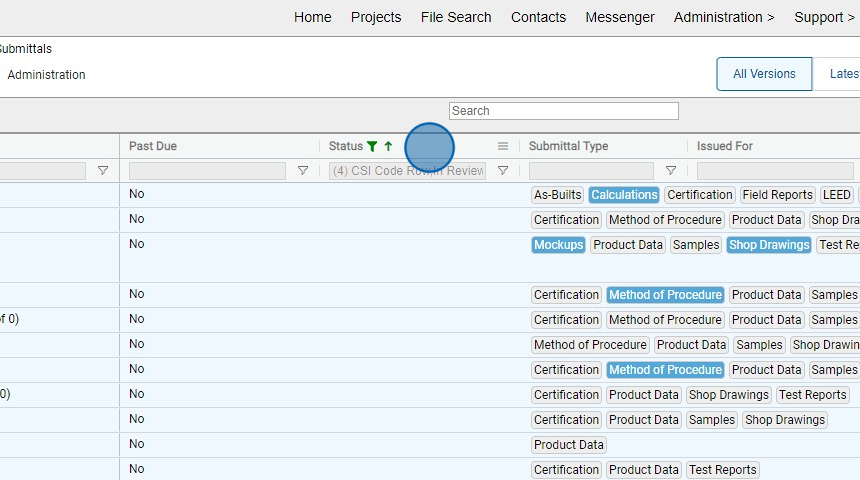
5. Click here to apply a filter within a specific column to refine the displayed data.

6. Click the "Name" of the CSI Code to open the Details Panel.

7. This will show you the Details Panel.

8. Click "Details" to close the panel.

9. Clicking the "Submittal Type" will add a New Submittal Item to this specific Submittal Type.

10. Click here to view the Submittal Items that are filtered in the CSI Code.

11. Click "Columns" to filter columns you want to show in the Log.

Saved Filters
12. Click here to see your Saved Filters Inventory: Each user begins with the BuildFlow Default Filter as a starting point.

13. Click "Clear Filter" will reset all currently applied filters.

14. Click "Save Filter" will save the current configuration of filters and view preferences.

15. Click this text field and name your filter that you would like to save.

16. Click "Save Current Filter"

17. Click the Star Icon to set as the default filter.

18. Click here if you wish to make this filter accessible for your company.

19. Click this icon updates the existing filter.

20. Click this icon deletes the filter.

21. Click "Edit Filters" to modify the existing filters.

CSI Code Details Panel
Tip: Once Submittal Items have been created, a CSI Code cannot be deleted. To perform this action, one must possess Submittal Administrator privileges within the Review Workflow.
22. Click the "CSI Code and Name" to view the Project Specification section.

23. Click "New Submittal Item" to initiate the creation of a new Submittal Item. Your assigned role must be either "Upload Submittal Items" or "Submittal Administrator" within the Review Workflow.

24. Click "Edit" on Submittal Types to modify the required Submittal Types associated with the CSI Code. Editing privileges are restricted to those with Submittal Administrator status in the Review Workflow.

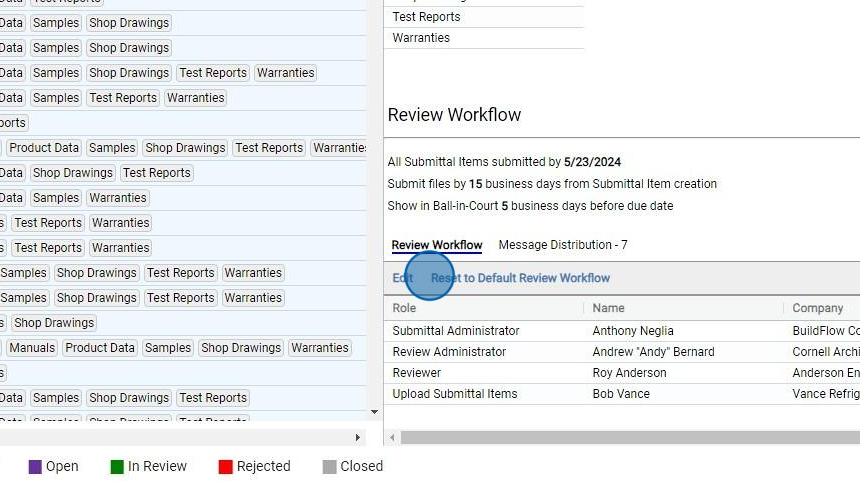
25. Click "Edit" on Review Workflow to modify the Review Workflow settings for the CSI Code. Editing capabilities are exclusive to individuals holding Submittal Administrator status in the Review Workflow.
Submittal Item Details Panel
26. Click "Submittal Item" you want to view.

27. Click "Add Revision" to add a revision to this Submittal Item. This action requires Submittal Administrator privileges.

28. Click "Edit" to modify the details of the Submittal Item. Access to this action is limited to individuals with Submittal Administrator privileges.

29. Click "Delete" to remove the Submittal Item. This action requires Submittal Administrator permissions.

30. Click "Review Submission" to review the Submittal Item. This functionality is accessible to individuals with the roles of Review Administrator or Reviewer, provided they have the current responsibility (Ball In Court).

31. Click "Edit" to modify the Review Workflow for the CSI Code. This capability is exclusively available to individuals with Submittal Administrator privileges.

32. Click "View Files" to access the list of files.

33. Click the file name to open and view the file.

34. Click the checkboxes to select to files, click "Download" to download the selected files.

35. Displays the individual currently holding the Ball-in-Court status.

36. Click "Add" under Remakes to add any comments.

We are committed to providing you with the best possible tools. We look forward to hearing your feedback and are always here to support you.
Request Training | Leave a Review
BuildFlow Customer Support | 212 624 9474 | support@buildflow.com