
Adding/Uploading Files and Documents
This guide provides step-by-step instructions on how to upload and organize files on BuildFlow.
View in Full Window: Uploading_and_Organizing_Files
Uploading and Organizing Files on BuildFlow
This guide provides step-by-step instructions on how to upload and organize files on BuildFlow. It explains how to find the appropriate folder, add new folders, upload files, and notify project team members. The guide also highlights the importance of document management and the turnaround time for processing uploaded files. Viewing this guide will help users effectively navigate and utilize BuildFlow for file management purposes.
1. Find the the appropriate folder where you need to upload your file or files.

Tip! The green folders have Document Management applied to them and any grey folder acts as a Unmanaged folder (The files will live in those folders in their raw format).
2. Click on the Arrow next to the Folder you are looking at to see it's subfolders.

3. Clicking into you folder "Drawings & Specifications" will show you the files that are uploaded to the folder.

Tip! By clicking into the green "Drawing and Specifications" folder will show you your Conformed Full Set (This set has all bulletins and addendums slip sheeted to show you the latest and greatest of these files).
4. Click into the folder you want to add a new folder to.

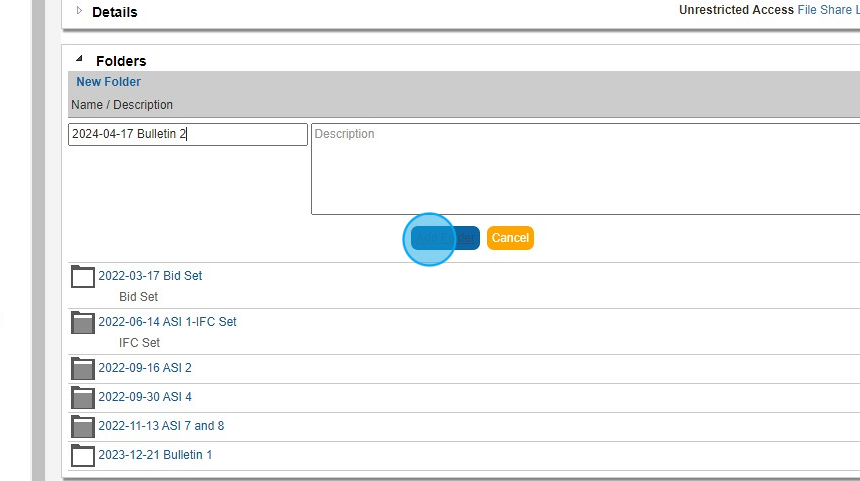
5. Click "New Folder"

6. The date is autogenerated to help keep naming structure in order but you can modify it your needs. Please add the name of you new folder here.

7. Click "Add Folder"
8. Click "Upload"

9. Click "Update Master Conformed Full Set" and choose your option. If you select yes this will tell our team if these files will supersede the files that are in the conformed full set.

10. Click "Delivery Method" and choose your option

11. Click the "Add instructions for BuildFlow Customer Service for processing this update." field, If needed. This goes to the BuildFlow Support team and will help if you have any special instructions needed to process these files.

12. Next see below field "Message"

13. Click this field.

14. This is where you can add any information about this upload that you will need the team on the "Smart Distribution List" will receive once the files are uploaded to BuildFlow.

15. Click "Edit"

16. Add in any project team members from the Project Directory that need to be notified. Once you do this on a folder this list will always be memorized for future uploads to the same folder.

17. By clicking the arrow next to the company it will show the team members associated with that company

18. Click the box next to the name to select that user

19. Click here.

20. Click "Next" once you have selected all project members needed for the notification.

21. Click "Choose Files"

22. Please wait till the "Upload Progress" has reach 100%

23. Click "Close Upload Files Window"

24. Click "I'm Done Uploading Files"
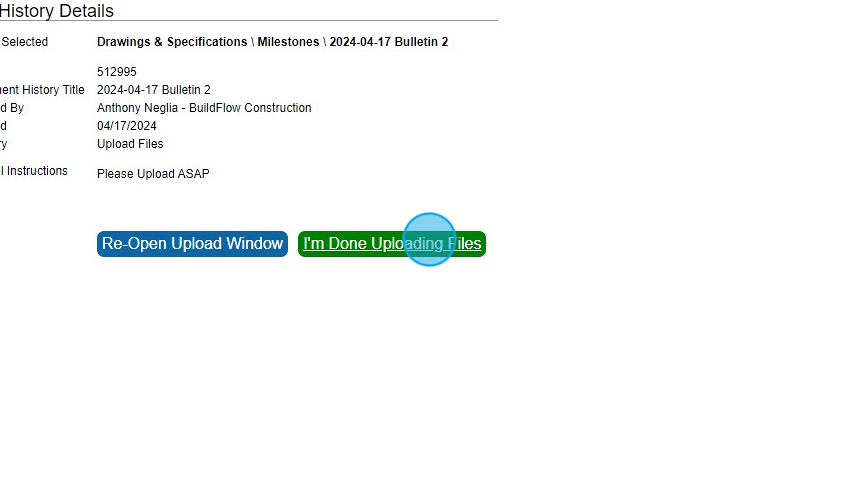
25. This will bring you back to you folder. This is where your files will show up once the BuildFlow team has finished the Document Management to these files and you will be notified with an email once it is done.

Alert! If the files are uploaded to a folder that has Document Management. Our team applies the Drawing titles, Dates, Meta Data and Search Tags.
We are committed to providing you with the best possible tools. We look forward to hearing your feedback and are always here to support you.
Request Training | Leave a Review
BuildFlow Customer Support | 212 624 9474 | support@buildflow.com