
Viewer Markup Tools
This guide provides step-by-step instructions on how to use viewer markup tools or annotation tools. It emphasizes the importance of saving markups and provides tips for customization and accuracy.
View in Full Window: Viewer_Markup_Tools_Annotation_Tools
Viewer Markup Tools (Annotation Tools)
This guide provides step-by-step instructions on how to use viewer markup tools or annotation tools. It covers various tools such as text highlighting, underlining, striking out, commenting, adding shapes, freehand drawing, inserting signatures, rubber stamps, images, callouts, and measuring tools. The guide emphasizes the importance of saving markups and provides tips for customization and accuracy. It is a comprehensive resource for anyone who wants to learn how to annotate and markup files effectively.
Viewer Markup Tools
Tip! Always click the Save Markups button when finished.
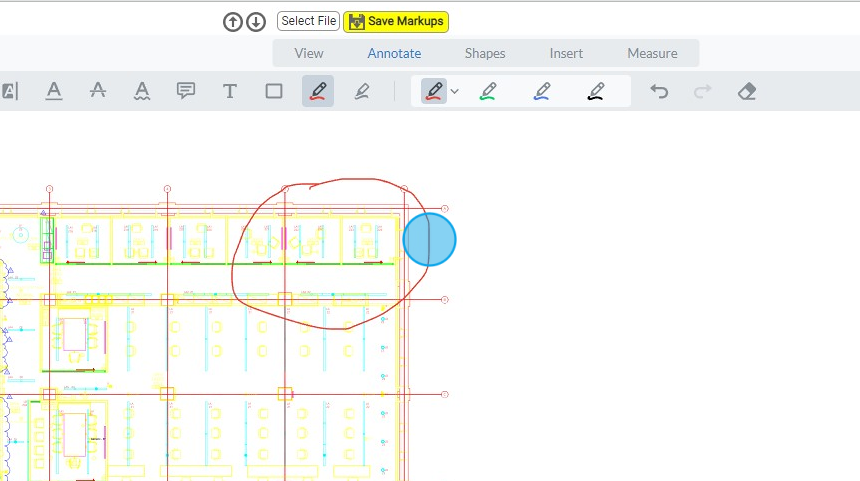
1. Click "Annotate"

Text Tools
Tip! Highlight Tools will not work if the file is an image file. To highlight select Shape Tool and change the fill to the desired color.
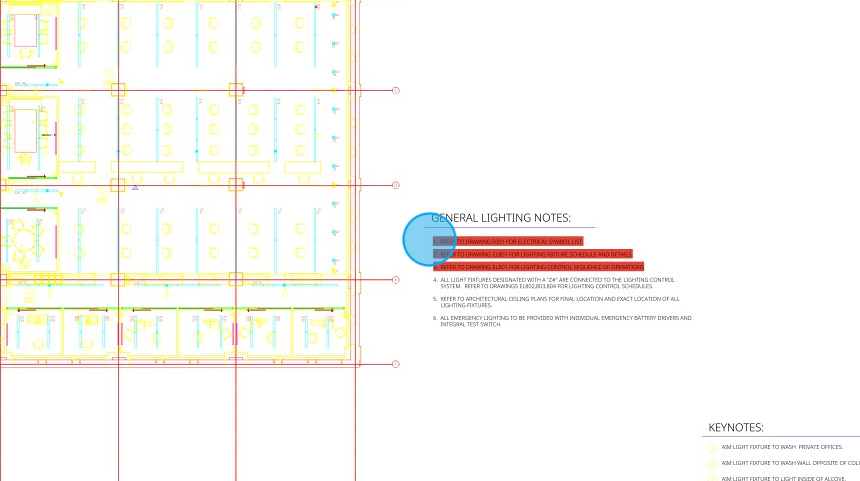
2. Click here to "Highlight" text within the file.

3. Click here to choose the color you want to "Highlight"

4. Click the text you want to "Highlight"
5. Click here to "Underline" text within the file.

6. Click here to choose the color you want to "Underline"

7. Click here to "Strikeout" any text within the file.

8. Click here to add a "Comment" within the file.

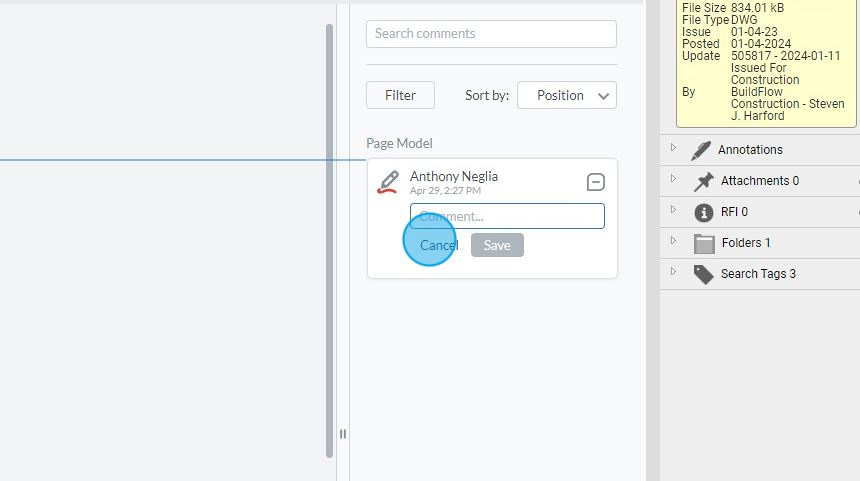
9. Click here

10. Click here to add you comment.

11. Once your comment is added make sure to click save.

12. Click here to add "Text" to the file.

13. Drag and draw your "Text" box

14. Click here to add in a "Rectangle" Shape to your file.

15. Click and drag to create the size of the "Rectangle" you want to create.

Freehand Tool
16. Click "Free Hand"

17. Click here to change your color.

18. Click to start drawing.
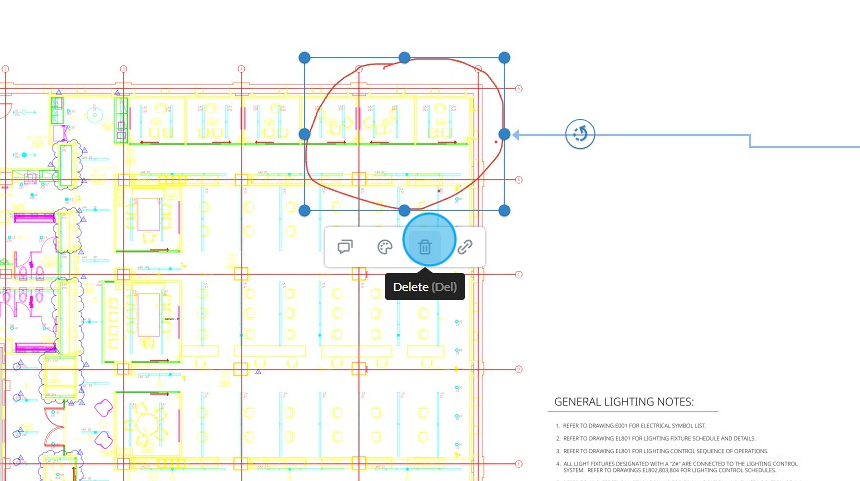
19. Click anywhere on the markup to modify.

20. Click anywhere on the markup to modify.

21. Click "Comment"

22. Click here to add you comment.
23. Click "Style"

24. Style lets you modify Color, Opacity and Thickness.

25. Click here to "Delete"
26. Click "Link URL or Page"

27. Click here to enter any URL or Page you would like to associate with this freehand markup.

Shape Tool
28. Click "Shapes"

29. Click "Free Hand"

30. Click "Free Hand Highlighter" to highlight anything on your file.

Tip! To create any shape you must click the shape and then click and drag to create the size of the shape you want. Release when you have the size you want.
31. Click "Rectangle" to create a rectangle.

32. Click "Ellipse" to create and ellipse.

33. Click "Polygon" to create a polygon.

34. Click "Cloud" to create cloud.

35. Be sure to click each point to create you clouded area.

36. Click "Line" to create a line.

37. Click "Polyline" to create a polyline.

38. Click "Arrow" to create an Arrow. Click and drag the arrow then release when done.

39. You can customize all colors and details of each shape by clicking the color selection before drawing.

40. Click "Eraser" to delete any items you have created on the file.

Insert Tools
41. Click "Insert"

42. Click "Signature"

43. Click "Add New Signature"

44. Here you can "Draw" your Signature.

45. Click here to "Type" you signature.

46. Click "Upload" to upload a signature you have saved on you device.

47. Click "Choose a signature" or Drag and Drop you file here.

48. Click "Create" once you are finished.

49. Click on a location to add your signature and resize it if needed.

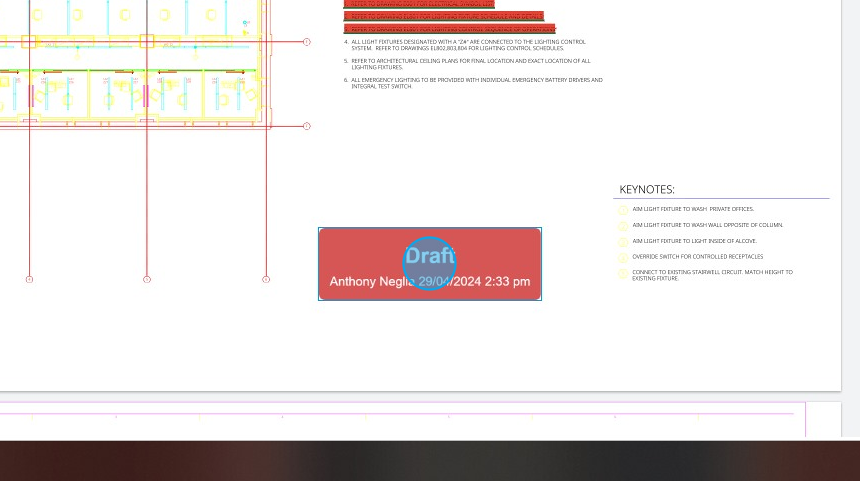
50. Click "Rubber Stamp"

51. Click here to select a stamp from the list.

52. Click here to select a stamp from the list or Customize you stamp.

53. Click here to create a customized stamp.

54. Click here to add in text and stamp information.

55. Once finished click create.

56. Click the location where you want your stamp and resize if necessary.
57. Click "Image"

58. Click where you want the image to be on you file.

59. Click the "Image" file name you want to add to the file in BuildFlow.

60. Click "Open"

61. This will insert the "Image" to the location you selected. You can resize and move the image from here.

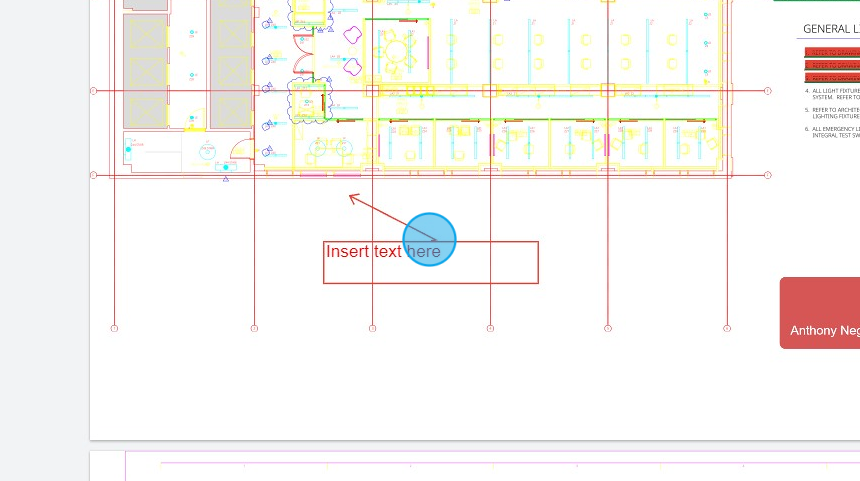
62. Click "Callout"

63. Click and drag to start the callout.

64. Click and release to change the arrows direction. Click again to enter text.
Measuring Tools
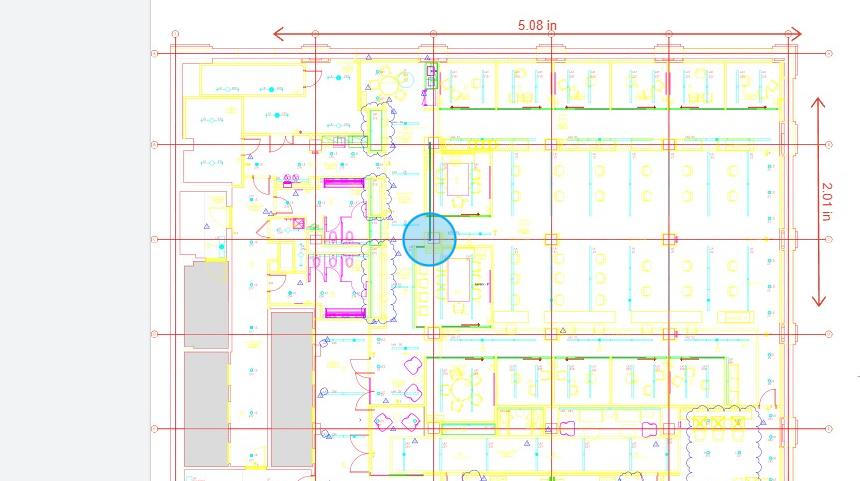
65. Click "Measure"

66. Click "Distance"

67. Click and drag to create you distance line.

68. Click the color you would like to customize.

Tip! It is very important to calibrate the measurement tool for accuracy.
69. Click here to calibrate the measurement tool for accuracy.

70. Click "Perimeter"

71. Be sure to click each point to create your perimeter.
72. Click the shape to show you measurement.

73. Click "Area"

74. Be sure to click each point to create your area.

75. Click the shape to show you measurement.

76. Click any of the shapes to measure the area of that shape.

77. Click the shape will show you the measurement for that shape.

Tip! Always click the Save Markups button when finished.
Save Markups
78. Click "Save Markups"

79. Click here to add a title to you annotations.

80. Click here to add any comments to you annotations.

81. Click here to adjust permissions on who can view this annotation.

82. Click here to set who can see who created the annotation.

83. Click "Save" to finalize your annotation.

Request Training | Leave a Review
BuildFlow Customer Support | 212 624 9474 | support@buildflow.com\